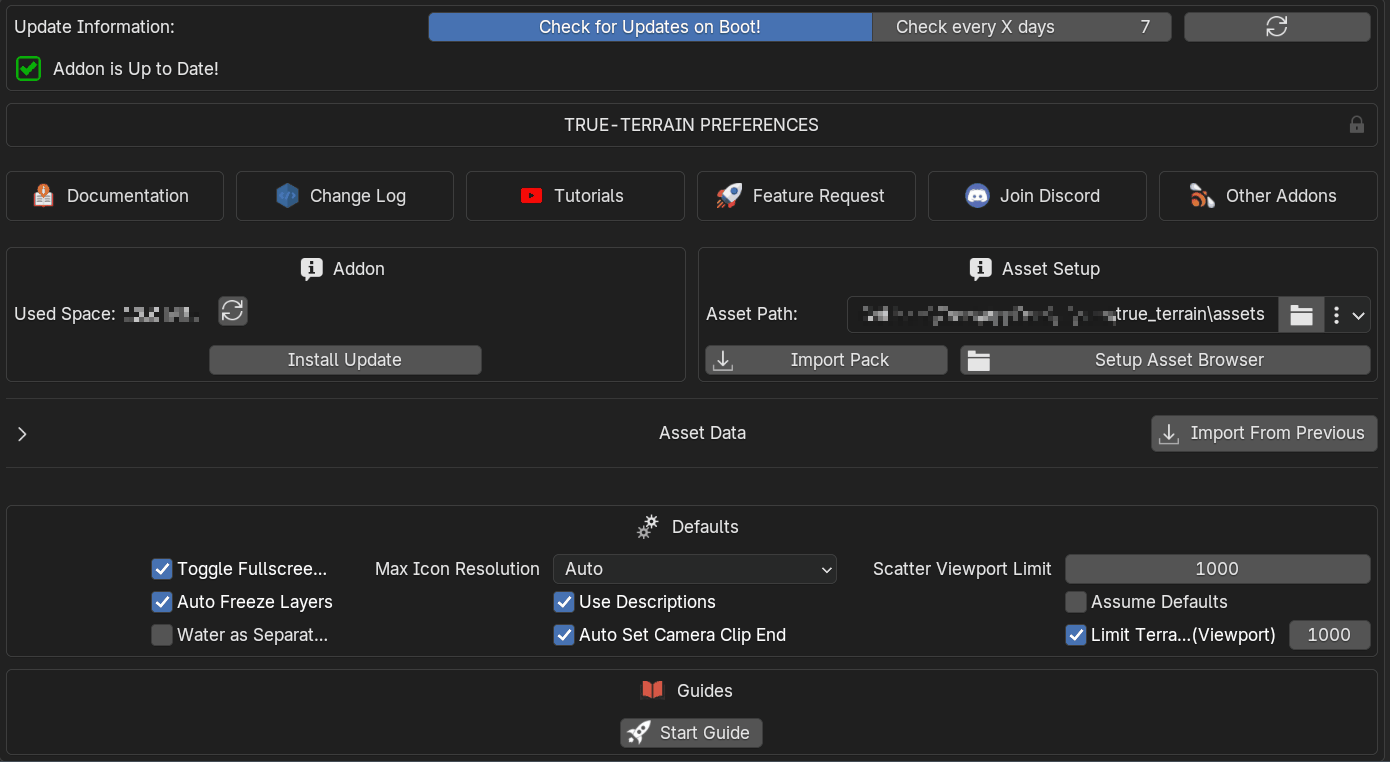
Preferences
Addon
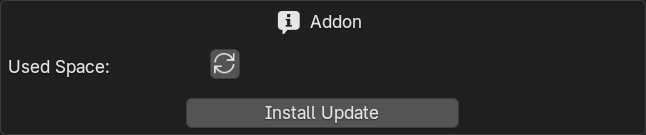
Reload Used Space
Calculate the amount of hard drive space the addon takes up
Install Update
Select and install an update for TrueTERRAIN.
Note
The only difference between installing an update with this button and using Blender's Install Addon button is that for some users Blender's Install Addon wasn't always overwriting all files leading to errors and botched updates.
Asset Setup
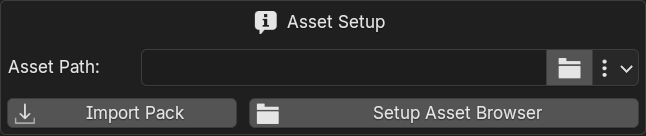
Asset Path
This is the file path to the directory where you want your assets stored.
Changing this file path by typing or pasting in a path will not, for reasons currently unknown, show you a progress bar.
Change Asset Path
This button with a folder on it will provide you a file browser window to select a folder that matches 1 of 2 types:
- An Empty Folder: If you select an empty folder TrueTERRAIN knows that you want to move all your current assets to this empty folder and will install all future assets here. Progress bar will display while moving files.
- A Folder Containg TrueTERRAIN 5 Assets: If you select a folder that TrueTERRAIN detects contains TrueTERRAIN 5 assets it will re-assign the asset path to this folder and load in the assets that are there
The right side panel will give hints as to what TrueTERRAIN will do if the active folder is chosen.
Warning
If you try and select a folder with items in it that TrueTERRAIN isn't able to detect TrueTERRAIN Assets an error will pop-up explaining.
TrueTERRAIN 4 asset folders are not compatible. See Import From Previous below
Reset to Default
Reset the asset path to be inside the TrueTERRAIN default addon folder
In the dropdown menu next to the folder icon you'll find Reset to Default
Import Pack
Import an assets pack (.tt_pack) file into TrueTERRAIN. Select multiple .tt_pack files to install multiple packs. Progress bar will display. While the file browser is up you may change how many threads TrueTERRAIN may use while importing the packs in the right hand side panel of the file browser.
Import Pack Example (Import progress sped up for time)
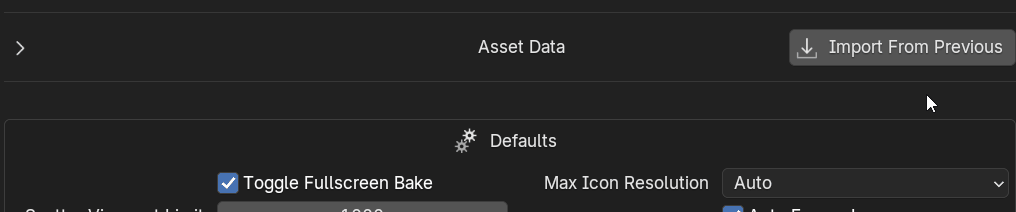
Asset Data
Import From Previous
Import the assets from TrueTERRAIN 4.
You must have TrueTERRAIN 4 installed with all the assets you want in the same version you have TrueTERRAIN 5
General Asset Editing
Name
The name to display in the icon picker
Size on Disk
How large this asset or quality level is. If it says 'Un-Calculated' try clicking the 'Calculate Size on Disk' (arrows in a circle) up in the 'Addon' section near the top.
Description
The description to display when hovering over the asset in the icon picker.
The description may be only visible in the Quality Level data section if the asset has quality levels
Create Asset/Quality Level
Create a new asset of type. This will let you insert all the necessary information like name, description, file path(s) and other data pertinent to an asset type.
Remove Asset/Quality Level
This will remove the asset from TrueTERRAIN and all files associated with it that are local (ie inside the asset path directory)
Hold ALT while clicking in order to only remove this asset from TrueTERRAIN and not delete any of the files associated with it.
Move Asset/Quality Level
Move the active asset up or down.
Remove All/Quality Level
Remove all assets of this type and their associated files.
Load Items/Quality Levels
Reload all items from the hard drive.
Batch Render Icons
Clicking this in the menu will display toggles next to each asset. Toggle on each asset you'd like to render new icons for and then click the now visible Start Rendering Icons button below the asset list
Verify Assets
Go through all assets installed in TrueTERRAIN and see if any have file paths that lead to missing files.
Once completed if any missing files were found a .txt file is created and opened that lists out those files that couldn't be found.
Find Missing Assets
If you have assets with missing files this operator will help you re-assign them.
Once clicked an file browser will open up for you to do select:
- A Directory: TrueTERRAIN will find all compatible image files in the directory and subdirectories and then will attempt to match them with the name of the missing file(s)
.tt_pack's: Select one or more.tt_packfiles for TrueTERRAIN to search through for the missing files. Look in the log file spit out by Verify Assets for the potential pack this asset was from.
The side panel in the file browser will give you information on what will happen based upon your selection.
By default Make Local is enabled and any assets will be copied into TrueTERRAIN 5's Asset Path.
Alphabetical
Order the assets in alphabetical order.
Reverse
Reverse the current order of the assets.
Error Icon
If you see a red triangle with a ! this means the file at this destination no longer exists.
Make Local
Copy all asset/quality level files to be inside the asset path and set the asset's file paths to those files.
Will not delete original files.
Categories
You can set what categories/subcategories an asset appears in by click the circle next to any of the labels of the subcategories.
Only subcategories can be set. Clicking on the categories will not add or remove.
Create Category/Subcategory
Create a new category or subcategory .
Remove Category/Subcategory
Remove the active category or subcategory .
Load Categories/Subcategories
Load all categories/subcategories.
Icon
Change Icon
Set the icon for this asset. Will move to be inside asset path and create optimized versions of.
Terrain Textures
Use Albedo as Icon
Set the color/albedo texture map for the asset as its icon.
Requires there to be a color/albedo texture already set
Texture Data
Use Gloss
Tell TrueTERRAIN that the images used for the roughness maps for this whole texture are actually gloss maps and TrueTERRAIN will act accordingly.
Use Specular
Tell TrueTERRAIN that the images used for the metallic/reflection maps for this whole texture are actually specular maps and TrueTERRAIN will act accordingly.
Direct X Normal Map
Tell TrueTERRAIN that the images used for the normal maps for this whole texture are using DirectX normals (red ang green values are flipped) and TrueTERRAIN will act accordingly.
Quality Levels
Use Gloss
Tell TrueTERRAIN that the image used for the roughness map of this quality level is actually a gloss map and TrueTERRAIN will act accordingly.
Use Reflection
Tell TrueTERRAIN that the image used for the metallic/reflection map of this quality level is actually a specular map and TrueTERRAIN will act accordingly.
Direct X Normal Map
Tell TrueTERRAIN that the image used for the normal map for this quality level is using DirectX normals (red ang green values are flipped) and TrueTERRAIN will act accordingly.
File Paths
Select the location of each of the texutre files on your hard drive. Click the make local button in order to copy them into the set asset directory.
Hold Alt to open up the file's directory or Shift to open the image file.
Terrain Procedural Shaders
Load From Blend File (menu Option)
Load the node groups in from the proc_shaders.blend file.
Node Group
Select the node group to load in when choosing the procedural shader. Set by default after Loading from Blend File.
Objects
Explore File
This is a list of objects in the blend file that will be pulled in and scatter when this asset is chosen.
Load Outliner
Fills the list with the objects in the blend file.
The updating of the outliner is left to you to click manually as it's time consuming and buggy to try and do at load of blender for you.
Split Up
Take the selected items from the list and create a new object asset from them leaving the old one behind in the current object asset.
Multiple Objects
When enabled Split Up will make a new object asset for each selected item in the list instead of a single asset containing all of them.
Height Maps
Load From Directory
Load all images from a directory as height maps. A file browser will appear with the following options in the right side panel.
- Pull Icons: Tell TrueTERRAIN to look for icons in the directory with the format 'height_map_name_icon'. Ignore these as height maps and instead use them as icons for their respective height map. Will make an icon optimized copy of the icon file.
- File as Icon: Convert and optimize a copy of the height map for use as the icon. If
has_iconsis True, this will only apply to files where an icon is not found. - Copy into asset directory: Copy the height maps into the asset directory.
- Parallel Loading: Use parallel processing to load the height maps. This will be faster but may go long periods before updating UI and Blender may freeze for a while while processing.
Load Height Map
Select an image to be loaded in when this height map is selected. This is the folder button over by the File Path input.
- File as Icon: Convert and optimize a copy of the height map for use as the icon.
- Copy into asset directory: Copy the height maps into the asset directory
Height Multiplier
The value to set the multiplier to when bringing in the height map.
Categories
Create and remove categories and subcategories and add or remove assets from those subcategories.
There's also lists of assets for easy editing of what is in or out of each subcategory.
Packs
See packs you have installed as well as what assets and presets are in each pack.
Import Pack
Import TrueTERRAIN 5 pack file. Pack files end with the extensions .tt_pack. This is the same button that is up in the Asset Setup section.
Presets
Reload Presets
Reload all presets including their icons from disk.
Import Presets
Import a preset pack file (.tt_presets)for use in TrueTERRAIN.
Presets may have been installed through a pack.
Export Presets
Export your presets to share with others!
Remove Preset
Remove the active preset in the visible preset section.
Author
This is who created the preset.
Icon Path
This is the path to the icon relative to the preset's json file.
Set Preset Icon
Set a new icon for the active preset.
Will copy the image file into the asset path.
Is Default
Whether or not this preset will be what is applied by default when creating whatever item this preset is for.
Creation Date
When the preset was originally created.
Last Modified
The last time the preset was edited.
Reload Preset Icons
If for some reason your preset icons are not showing up this will reload the icons without reloading the presets themselves.
Open Folder
Open the directory containing the files of the active preset.
Defaults
Toggle Fullscreen Bake
When baking hide all other ares of the UI and make the bake are fullscreen.
Max Icon Resolution
The maximum resolution of icons to display in the UI. Leave at 'Auto' to let TrueTERRAIN decide the resolution based on the size of the icon and your screen resoluiton.
Scatter Viewport Limit
The defulat amount to set the Viewport Limit to when adding a new scatter layer.
Auto Freeze Layers
Automatically freeze and unfreeze (cache/bake) Terrain layers when switching between layers or switching sections. This stops the calculation of parts of the terrain that aren't changing speeding up edits. This may cause switch layers or tabs to seem slow depending up the complexity of the mesh. Disabling Auto Freeze will allow you to manually freeze the layers or even the entire terrain. Scatter will get this feature once storing materials on instances are solved by the Blender developers.
Use Descriptions
Use descriptions in the side panel for settings that are actually inputs.
Disable and restart if Blender is crashing a bunch.
Assume Defaults
When creating a new system, layer, or modifier invert the ALT functionality so that the default is to not show the pop ups with presets but to instead apply the default presets.
Water as Sparate Object
By default always enable the Water as Separate Object setting when creating new water systems.
Auto Set Camera Clip End
When creating a terrain go through all the cameras in the scene currently and set their end clipping distance to be twice the size of the terrain so that the camera can see the whole terrain.
Limit Terrain Resolution (Viewport)
By default limit the resolution of the terrain mesh in the viewport only to never go above a specific number. This
Viewport Limit
The number of vertices to limit the terrain object's to. Default of 1,000,000 is a 1000x1000 grid.
Guides
Here you may go through any of the guides you have already completed again to brush up on your knowledge of TrueTERRAIN!